Every detail counts when preparing your house for sale, and the driveway is often the first impression potential buyers encounter. So what can you do to make it look its best? Glad you asked! Let’s look at the 9 steps (and best practices) you can use when cleaning your driveway to make it the envy of the neighborhood.

A clean, well-kept driveway enhances curb appeal and signals buyers that the entire property has been cared for attentively. From removing oil stains to power washing away grime, investing time and effort into driveway maintenance can significantly impact the overall perception of your home’s value.
So, before opening your doors to prospective buyers, ensure that your driveway reflects the pride and attention to detail that defines your property.
9 Steps to Cleaning Your Driveway Effectively
Regardless of whether your driveway is a honed concrete or not, here’s a step-by-step guide on how to start cleaning your driveway:
1. Gather Your Supplies
When gathering your supplies for driveway cleaning, ensure you have everything you need for a thorough job.
Grab a stiff-bristled brush to tackle stubborn stains and dirt buildup, along with a pressure washer, if you have one, for a deeper clean. Remember a sturdy bucket to mix your cleaning solution, and opt for a quality detergent or specialized driveway cleaner to break down grime effectively.
Safety should always come first, so don’t overlook protective gear like safety goggles to shield your eyes from splashes and gloves to safeguard your hands.
2. Clear the Area
Before diving into the cleaning process, it’s essential to clear the driveway of any vehicles or obstacles that might hinder your progress and ensure you have ample space to maneuver and access every corner of the driveway effectively.
By creating an open workspace, you’ll be free to move around and focus on cleaning without any hindrances, ultimately achieving a more thorough and efficient cleaning result.
3. Prepare the Surface
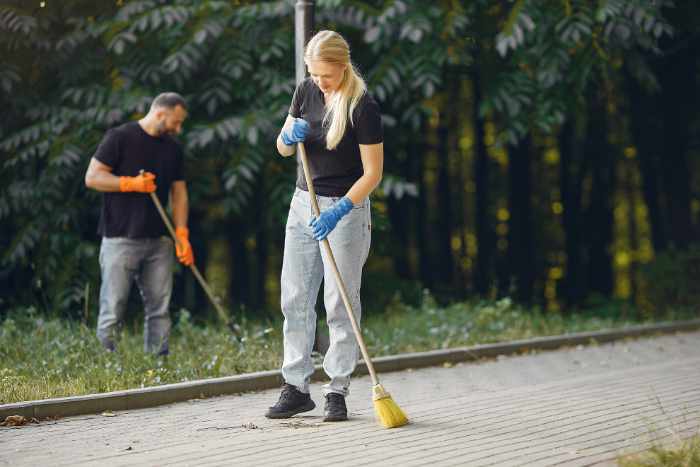
Prepare the surface by sweeping away any loose debris accumulated over time, such as leaves, dirt, and branches. Use a sturdy broom or, for larger areas, a leaf blower to ensure every nook and cranny is free from obstructions.
Additionally, starting with a clean surface minimizes the risk of debris being pushed around or reintroduced during the cleaning process, leading to a more polished and professional finish.
4. Scrub the Surface
Once the surface is cleared of loose debris, it’s time to tackle stubborn stains and deep-seated dirt by scrubbing the driveway surface vigorously.
Arm yourself with a stiff-bristled brush, ideally with a long handle to minimize strain on your back, and scrub the entire driveway surface methodically. Pay particular attention to areas with noticeable stains or heavy dirt buildup, applying extra pressure to lift and remove stubborn grime effectively.
5. Pressure Wash
If you have a pressure washer, thoroughly clean the entire driveway.
Start from one end and work your way to the other, maintaining a consistent distance from the surface to ensure even cleaning. Use a wide-angle nozzle attachment for general cleaning and switch to a narrower nozzle for stubborn stains.
6. Rinse Thoroughly
Once you’ve finished pressure washing, thoroughly rinse the driveway with a hose to remove any remaining detergent or cleaner.
7. Inspect and Repeat
Inspect your driveway for any lingering stains or spots that need more attention. Repeat the scrubbing and pressure-washing steps until you’re happy with how it looks.
8. Allow to Dry
Once you’ve completed the cleaning process, allowing the driveway to air dry thoroughly before permitting any foot or vehicle traffic is essential.
During this drying period, refrain from walking or driving on the driveway to prevent disturbing the drying process or tracking dirt onto the freshly cleaned surface.
9. Optional Sealing
After the driveway has dried completely, consider applying a sealer to protect against future stains and damage.
Before applying the sealer, know how much it costs to seal a driveway and carefully read and follow the manufacturer’s instructions to ensure proper application and maximum effectiveness.
Best Practices for Cleaning Your Driveway
Keep these things in mind when cleaning your driveway:
- Regular Maintenance: Implement a routine cleaning schedule to prevent dirt and stains from accumulating. Regular sweeping and occasional power washing can help maintain the cleanliness of your driveway.
- Use Proper Tools and Products: Use high-quality cleaning tools like stiff-bristled brushes and pressure washers. Use appropriate cleaning products or detergents designed explicitly for driveway surfaces.
- Address Stains Promptly: Tackle stains as soon as they occur to prevent them from setting and becoming more challenging to remove. Use appropriate stain removers or cleaners for specific stains like oil, grease, or rust.
- Safety First: Prioritize safety by wearing protective gear such as goggles and gloves when handling cleaning chemicals or using power tools like pressure washers. Also, the area must be clear of obstacles and bystanders during the cleaning process.
- Thorough Rinse and Dry: After cleaning, thoroughly rinse the driveway surface to remove any remaining cleaning agents or debris. Allow the driveway to air dry completely before allowing foot or vehicle traffic to prevent accidents and maintain the effectiveness of the cleaning.
Conclusion
Boosting curb appeal by cleaning your driveway is vital when selling your home. A clean and well-maintained driveway improves your property’s overall aesthetics and signals buyers that the house has been cared for attentively.
Follow the steps outlined in this guide and implement best practices for driveway cleaning to make a lasting impression on potential buyers from the moment they arrive.


